Florida Golf Course Reviews
Reunion Independence (Watson) Golf Course ReviewKissimmee, FL
|
Other Florida Golf Course Reviews:
Reunion Legacy Golf Course | Disney's Magnolia Golf Course | Disney's Palm Golf Course
TPC Sawgrass, Dye's Valley Golf Course | TPC Sawgrass, Stadium Golf Course Review
Reunion Legacy Golf Course | Disney's Magnolia Golf Course | Disney's Palm Golf Course
TPC Sawgrass, Dye's Valley Golf Course | TPC Sawgrass, Stadium Golf Course Review
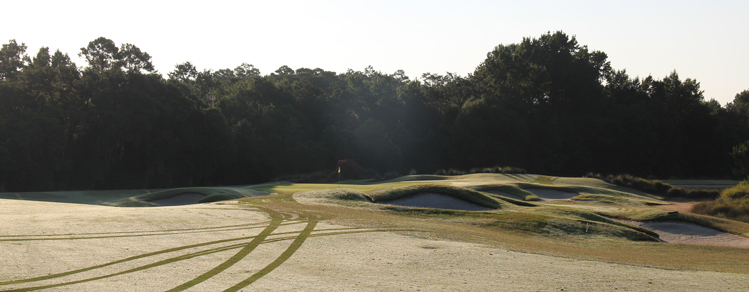
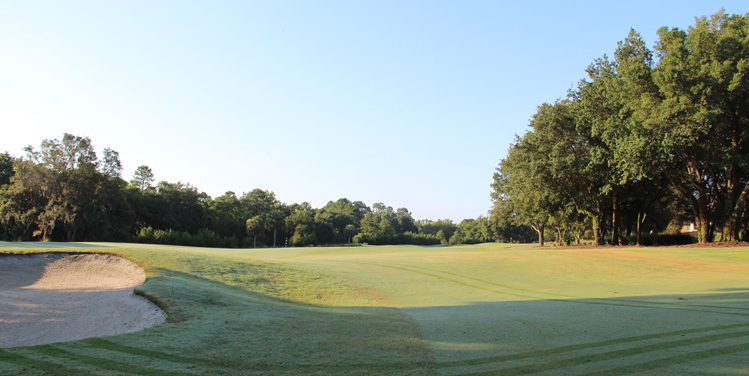
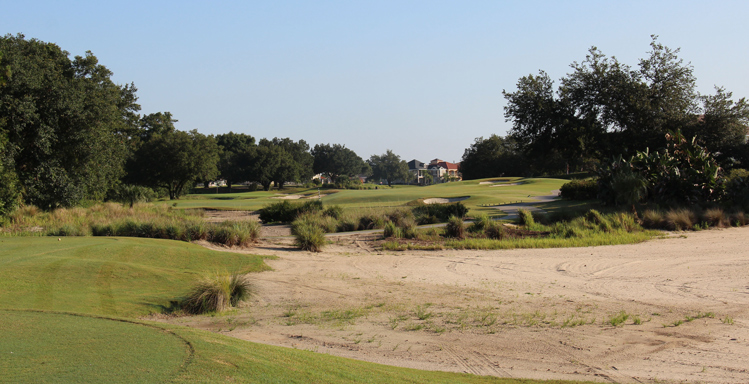
Reunion Independence Golf Course Overview: This Tom Watson golf course design is devoid of water, but what it lacks in these types of hazards, it makes up for in difficulty through over 160 bunkers. Overall, this makes for a very difficult test of golf as there are very few shots on the day where sand is not in play and the green complexes are thoughtfully designed. Although the type of golf course design doesn't allow for many standout golf holes visually, the best representatives of Watson's design are reviewed below:
Reunion Independence Golf Course Hole 2: The best scoring opportunities on the front nine come early as there is a fairly easy par five (#1), a straightforward par three (#3) and this short par four. The hole has bunkers to avoid as usual, but generally is pretty wide and lacks the distance to require any long shots. Thus, the player can be aggressive and try to make a birdie with two decent shots.
Reunion Independence Golf Course Hole 2: The best scoring opportunities on the front nine come early as there is a fairly easy par five (#1), a straightforward par three (#3) and this short par four. The hole has bunkers to avoid as usual, but generally is pretty wide and lacks the distance to require any long shots. Thus, the player can be aggressive and try to make a birdie with two decent shots.
Reunion Independence Golf Course Hole 4: This dogleg right has a very tough drive between large trees right and bunkers left. The drive must be hit far enough to get clear of the trees on the right to have any shot at the green. Thus, a lay up off the tee really isn't an option. The green is angled from front left to back right and is very deep with back pin placements being particularly nasty.
Reunion Independence Golf Course Hole 5: The second of long par fours, this one bends left and features a very tough second shot played between large trees. These trees have a tendency to grab shots and leave them short of the green, which falls away from the golfer for the back half.
Reunion Independence Golf Course Hole 6: Now that the driver is warm after the last two long par fours, Watson throws in a short one to tempt the big hitter to go for the green. However, there is plenty of trouble left in the form of sand and trees, and there is OB right, so the more conservative approach is much more reasonable on this little dogleg left.
Reunion Independence Golf Course Hole 8: This par five has a drive that must avoid the trees to the right but the key shot is the second, which needs to stay right of the massive bunker to the left of the fairway that continues up to the putting surface, which is guarded by even more bunkers right.
Reunion Independence Golf Course Hole 10: This tough hole is a long and straight par four with sand in play both on the drive and on the slightly uphill approach shot.
Reunion Independence Golf Course Hole 11: One of the most picturesque holes on the course is this shorter par four that has an elevated tee. There is a huge waste bunker left that should be avoided and the hole is dotted with many other bunkers, all of which are plainly evident from the tee box. The green is small and well-guarded with an especially troublesome bunker to the left.
Reunion Independence Golf Course Hole 12: This is arguably the most scenic par three on the course, with and elevated tee shot and a lot of sand between the player and the green.

Reunion Independence Golf Course Hole 16 (left): This par four is straight and has a large waste bunker down the right for most of the hole and OB left. Pin placements back and right are very tough.
Reunion Independence Golf Course Hole 17 (below): The last par five of the day has OB running down the right side and is riddled with well placed sand traps and a massive waste bunker so the player needs to be on guard from tee to green.
Reunion Independence Golf Course Hole 17 (below): The last par five of the day has OB running down the right side and is riddled with well placed sand traps and a massive waste bunker so the player needs to be on guard from tee to green.
Reunion Independence Course Hole 18: The final hole of the day presents a tough tee shot with hazard right and OB left. Although it is wide, the numerous bunkers scattered in the fairway make it feel much tighter. The approach also has greenside bunkers but missing left is better than right.


