Montana Golf Course Reviews
Eagle Bend (Eagle/Bear) Golf Club ReviewBig Fork, MT
|

Eagle Bend Golf Club Overview: This golf club features three nine hole loops (Eagle/Bear/Osprey). This golf course review encompasses the Eagle to Bear configuration. The golf course isn't overly long and it has a few challenging golf holes but it mainly is a leisurely, enjoyable place to play golf and a quiet and pleasant surrounding location. The best or most memorable of the golf holes are reviewed below:
Eagle Bend (Eagle) Hole 1: This opening dogleg right par four has an important drive as there is hazard to the left and trees for the driver that gets too aggressive in cutting off distance. The approach is fairly docile but avoiding the greenside bunkers is important.
Eagle Bend (Eagle) Hole 2: From the tee, the drive appears a little tighter than it is, but one cannot go left as their is OB over there. Then, the lake begins to pinch in for the second shot. It's less formidable for the approach to the green but there are plenty of sand traps to challenge a less than stellar shot to the putting surface.
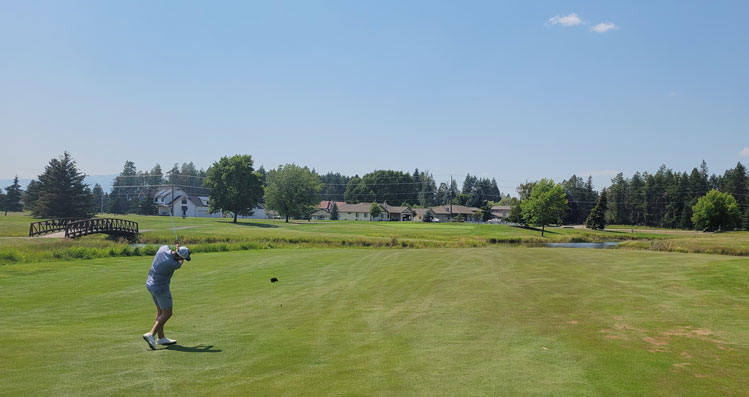
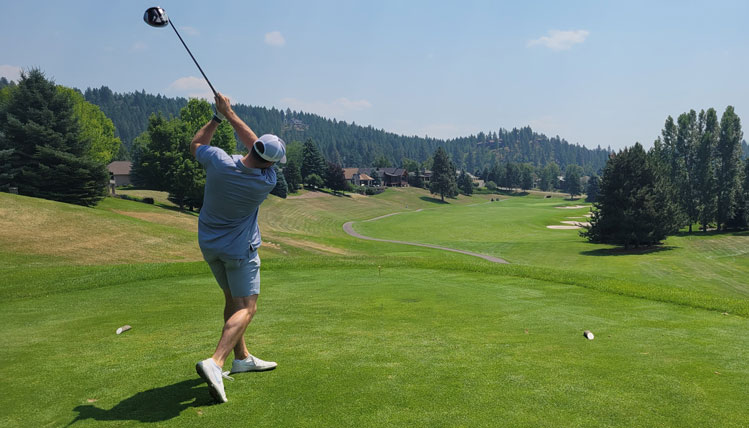
Eagle Bend (Eagle) Hole 3 (left):
A short-ish straight par with a lake on the right. A big drive can actually fly the lake on the right, but the fairway does also pinch in the farther goes, including a few fairway bunkers and some trees to the left. the green is small and has undulations on the surface but also around it to reject shots on the edge.
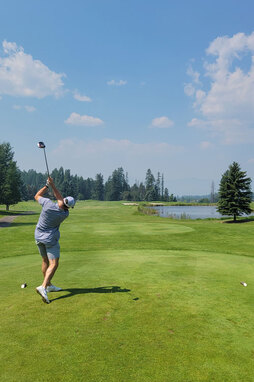
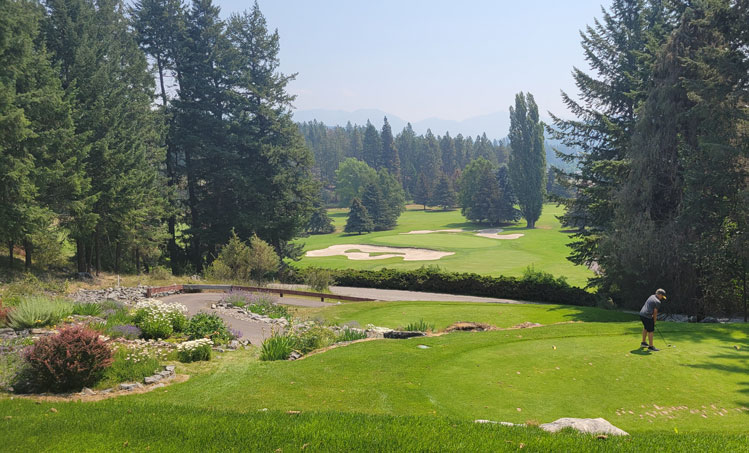
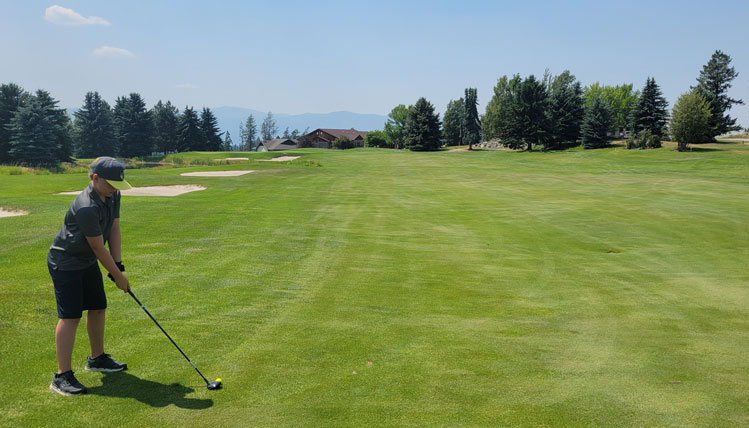
Eagle Bend (Eagle) Hole 6 (below):
This downhill par three has an angled green between two large bunkers. Depending on pin placement and wind, the chosen club and strategy can change quite a bit.
A short-ish straight par with a lake on the right. A big drive can actually fly the lake on the right, but the fairway does also pinch in the farther goes, including a few fairway bunkers and some trees to the left. the green is small and has undulations on the surface but also around it to reject shots on the edge.
Eagle Bend (Eagle) Hole 6 (below):
This downhill par three has an angled green between two large bunkers. Depending on pin placement and wind, the chosen club and strategy can change quite a bit.
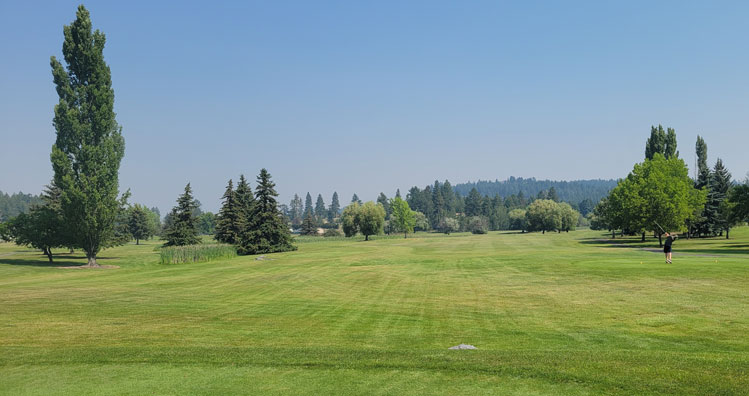
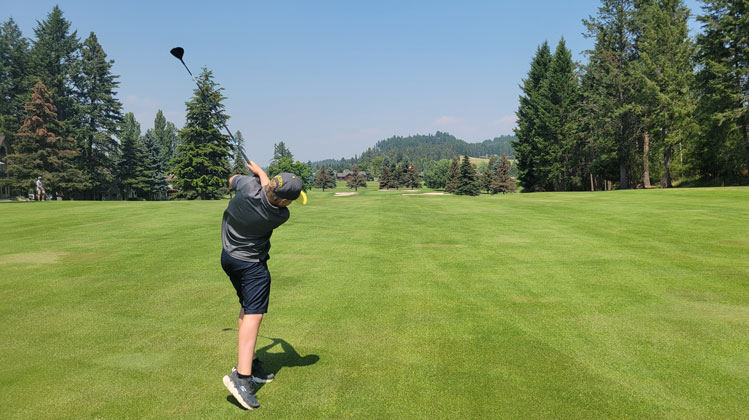
Eagle Bend (Eagle) Hole 9: Straight and long, this hole has thick trees on both sides and requires two blasts to reach a fairly well-guarded green with three bunkers.
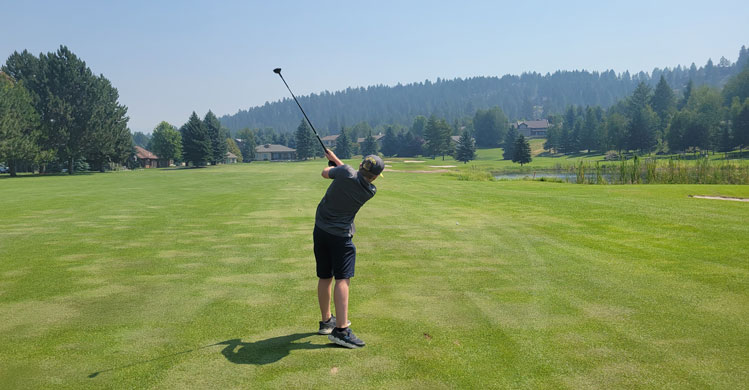
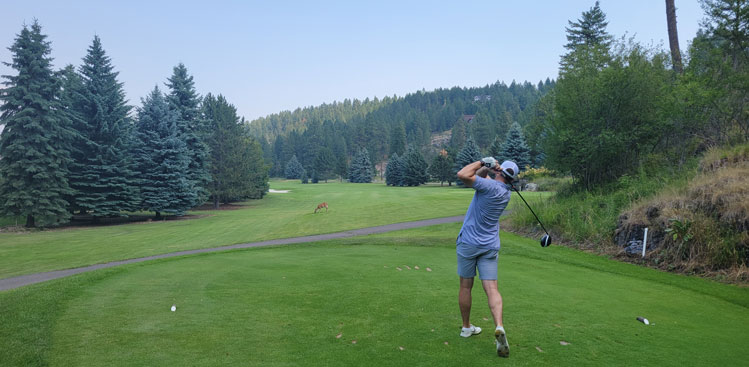
Eagle Bend (Bear) Hole 1: This par five doglegs left around some bunkers. There are fir on both sides of the fairway that are very low to the ground that will make any shot from under/around them very difficult. However, a strong drive here will give the player a good to reach the green in two. The rest of the hole has some bunkers but is pretty straight forward, with a slightly raised green complex.
Eagle Bend (Bear) Hole 2: This short par three has a split fairway of sorts, but is pretty wide open. Finding the fairway is key as the green is small and has a really placed sand trap. Pins behind it are on a very small slice of green and require a really good shot to get close.
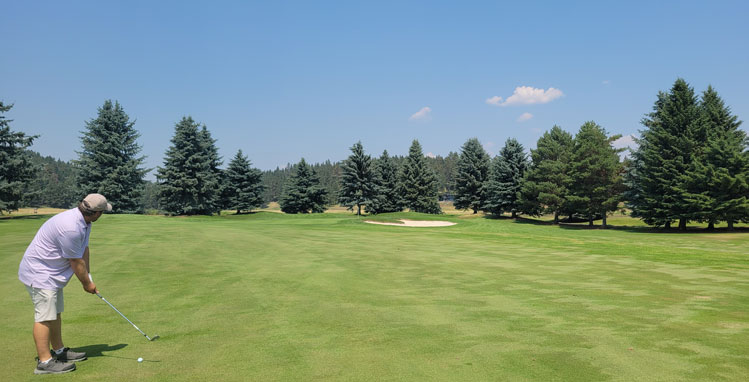
Eagle Bend (Bear) Hole 4: Downhill, going right is very bad as there are bunkers, big trees and eventually out of bounds. The green is angled around yet another big bunker, so this hole requires two good shots to find the green.
Eagle Bend (Bear) Hole 5: This tough par four features a lake on the left (only huge drives can find it) that really plagues the green complex. There is also a bunker short as well leaving the only real bailout as pin-high to the right of the green, which is otherwise quite shallow and raised.
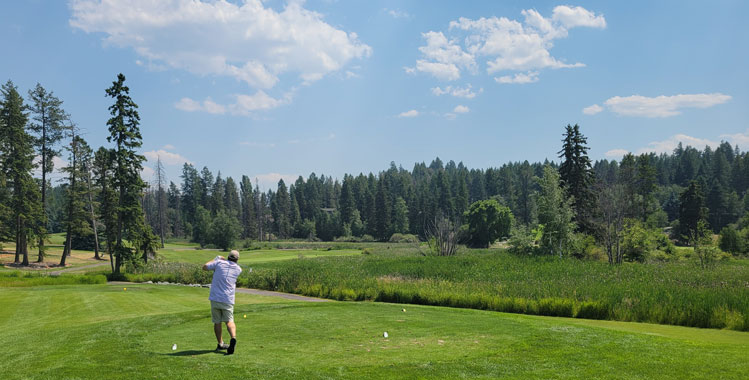
Eagle Bend (Bear) Hole 7: The most striking hole on this nine has a green up against a marsh-land type hazard. the green angles from front left to back right, but misses long and left leave an awkward shot down humps to the green, with all shots rolling toward the hazard.
Eagle Bend (Bear) Hole 8: The Bear nine's final par four has a drive with hazard really on both sides and then a second shot that has to clear a creek where those join. The hazard is more in play on the drive than the approach, but it's just close enough to be in your mind, especially in a left to right wind.