Nevada, Lake Tahoe / Reno Area Golf Course Reviews
Gray's Crossing Golf Club Review
|

Gray's Crossing Golf Club Overview: Located in one the lower and more flat areas of Truckee, California, near highway 80 (but not close enough to hear it), this golf course presents a good mix of tree-lined holes and those that feel more open, using either water hazards or grass-filled washes/creeks to add challenge. Both nines use these tactics so the golf course feels consistent and not fragmented, which is pleasant. The fairways, however, are fairly wide for a Truckee course, which makes this the easiest to score well (not easy, but easiest) of the half dozen Truckee courses I've encountered, especially for the higher handicap golfer. The best golf holes are reviewed below:
Gray's Crossing Golf Club Hole 2: This short par four is slightly uphill and has a drive that must find its way between the bunkers to the left and the right of the fairway. If this can be achieved, the remainder of the golf hole is much easier as the green is fairly accessible with only bunkers to the left side.
Gray's Crossing Golf Club Hole 3: This long dogleg right par five has a little creek/wash crossing after the drive (it could only be reached by a mammoth tee shot). The second shot is played over this as the golf hole bends right between the trees on the right and a series of bunkers to the left. The green is then fairly large, but set between a big bunker short and right of the surface and another behind and to the left of the green.
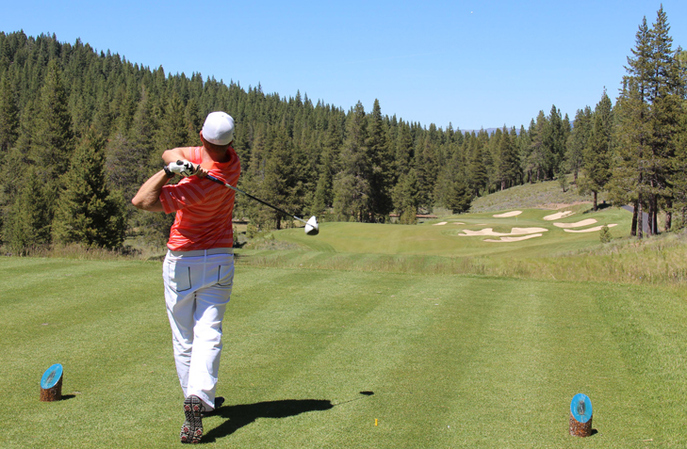
Gray's Crossing Golf Club Hole 5: This long and difficult par four is a dogleg left and the player can spy the pin through the trees on the left. The drive can be played right of the bunkers to leave a long shot in or the aggressive line over the sand traps can shorten the golf hole, but any shot pulled left is in trouble, and the bunkers are deep enough to make going for the green unlikely. The green is very deep and has a steep hillside to the left and behind that will careen balls down it, along with a couple of bunkers to make life even more difficult.
Gray's Crossing Golf Club Hole 6: The driveable par four has an elevated tee and can definitely be hit in one great shot. However, there are bunkers everywhere and more trouble right. The green is sloped severly from right to left, which means any miss in the wrong spot will make up and down (for whatever score) very difficult.
Gray's Crossing Golf Club Hole 7: I've rarely encountered two par fives on the same nine that feel so similar as this one and number 3. This one is slightly less picturesque, tighter and has a tougher green complex.
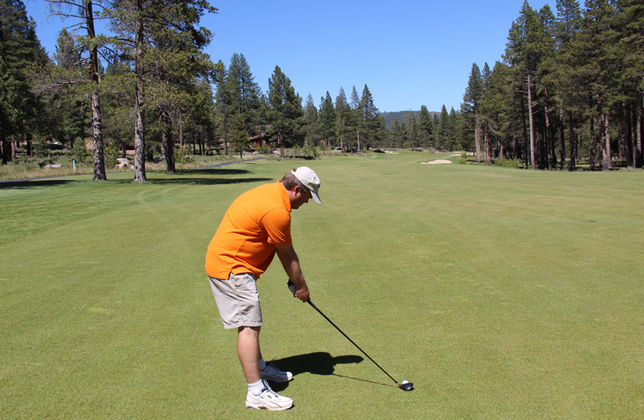
Gray's Crossing Golf Club Hole 10: From the back tees, this is a beast of a dogleg left par four and features a drive that must be hit a long way. Once the golf hole turns the corner, it features a deep, angled green with a couple of bunkers to contend with short of the putting surface.
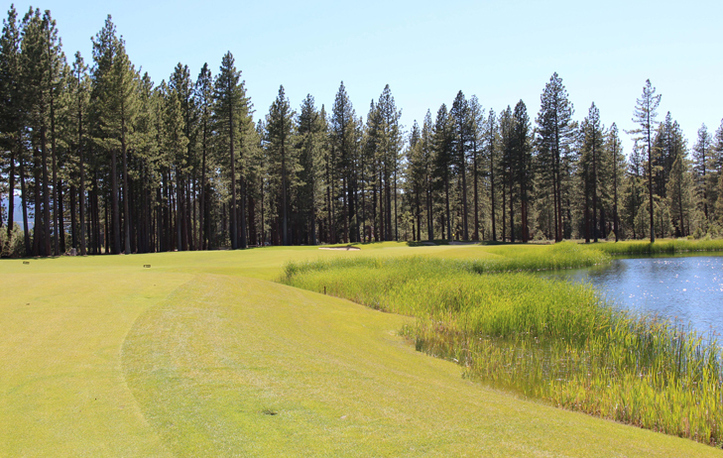
Gray's Crossing Golf Club Hole 13: This is a classic, long par four that wraps around the lake on the right side. Into any sort of breeze, it becomes a really challening effort as the water will gobble up anything that come near on both shots, so precision and length are needed.
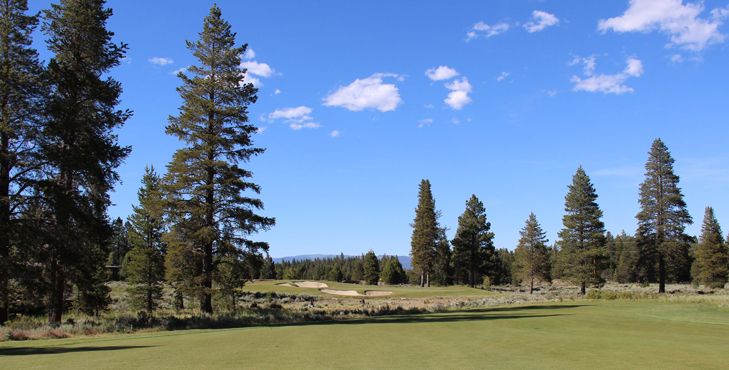
Gray's Crossing Golf Club Hole 16 (left): This long, downhill par three has a well-guarded green and is tough to putt.
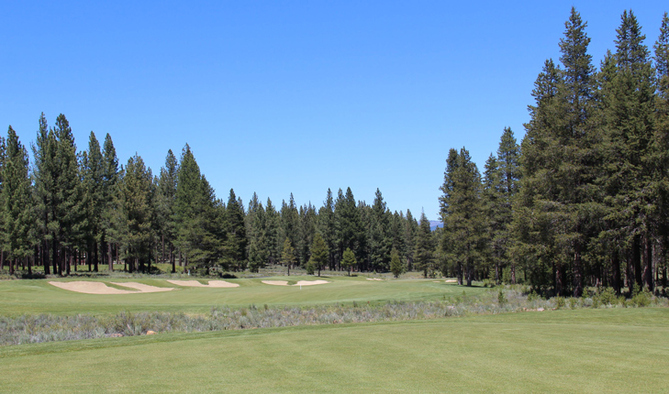
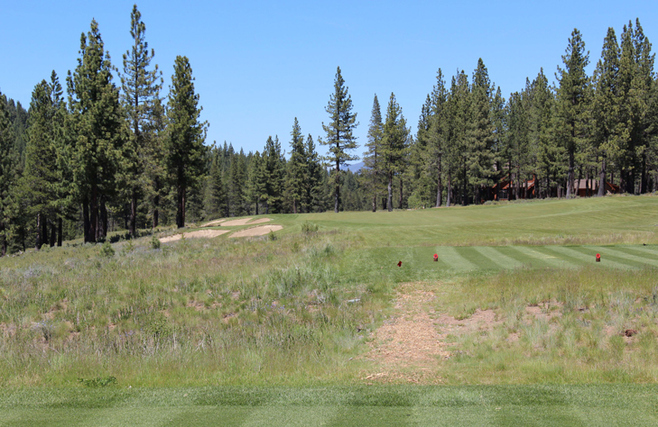
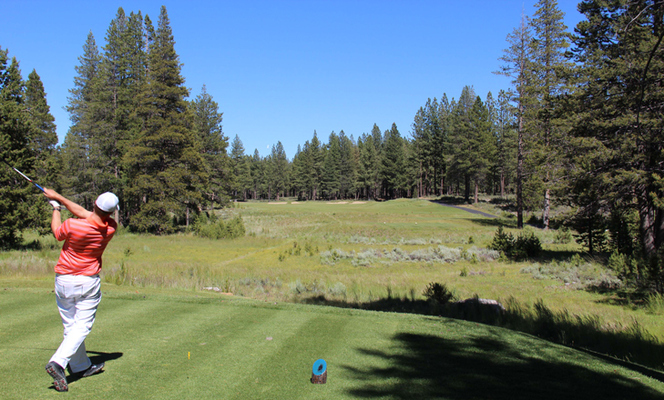
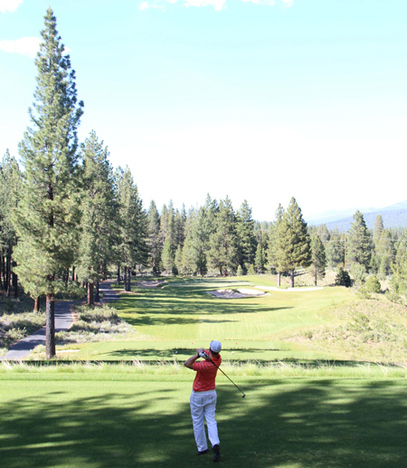
Gray's Crossing Golf Club Hole 17 (below): After possibly the tightest tee shot of the day between heavy trees and some bunkers, the golf hole opens up a bit to a green on the other side of the creek/wash. This is green, however, is smaller than most on the golf course and has two bunkers on the left side.
Gray's Crossing Golf Club Hole 17 (below): After possibly the tightest tee shot of the day between heavy trees and some bunkers, the golf hole opens up a bit to a green on the other side of the creek/wash. This is green, however, is smaller than most on the golf course and has two bunkers on the left side.
Gray's Crossing Golf Club Hole 18: A long finishing par five golf hole, this par five is pretty wide open, with the key being the decision to either lay up short of the wash/creek on the second shot, or to fly it to leave a better angle to most pin placements, trying to finish strong with a birdie.